

Creating bulleted, numbered, and custom lists
On this page
Creating bulleted, numbered, and custom lists
Summary
To create any type of list, start by adding a text box with your items, then use the bulleted list icon in the toolbar. You can adjust line spacing to fine-tune appearance, customize with graphics or icons from the built-in library (or upload your own), and use shift+click to select multiple items for alignment and distribution options via the menu.
Contents
- Bulleted list
- Numbered list
- Custom list with graphics
1. Bulleted list
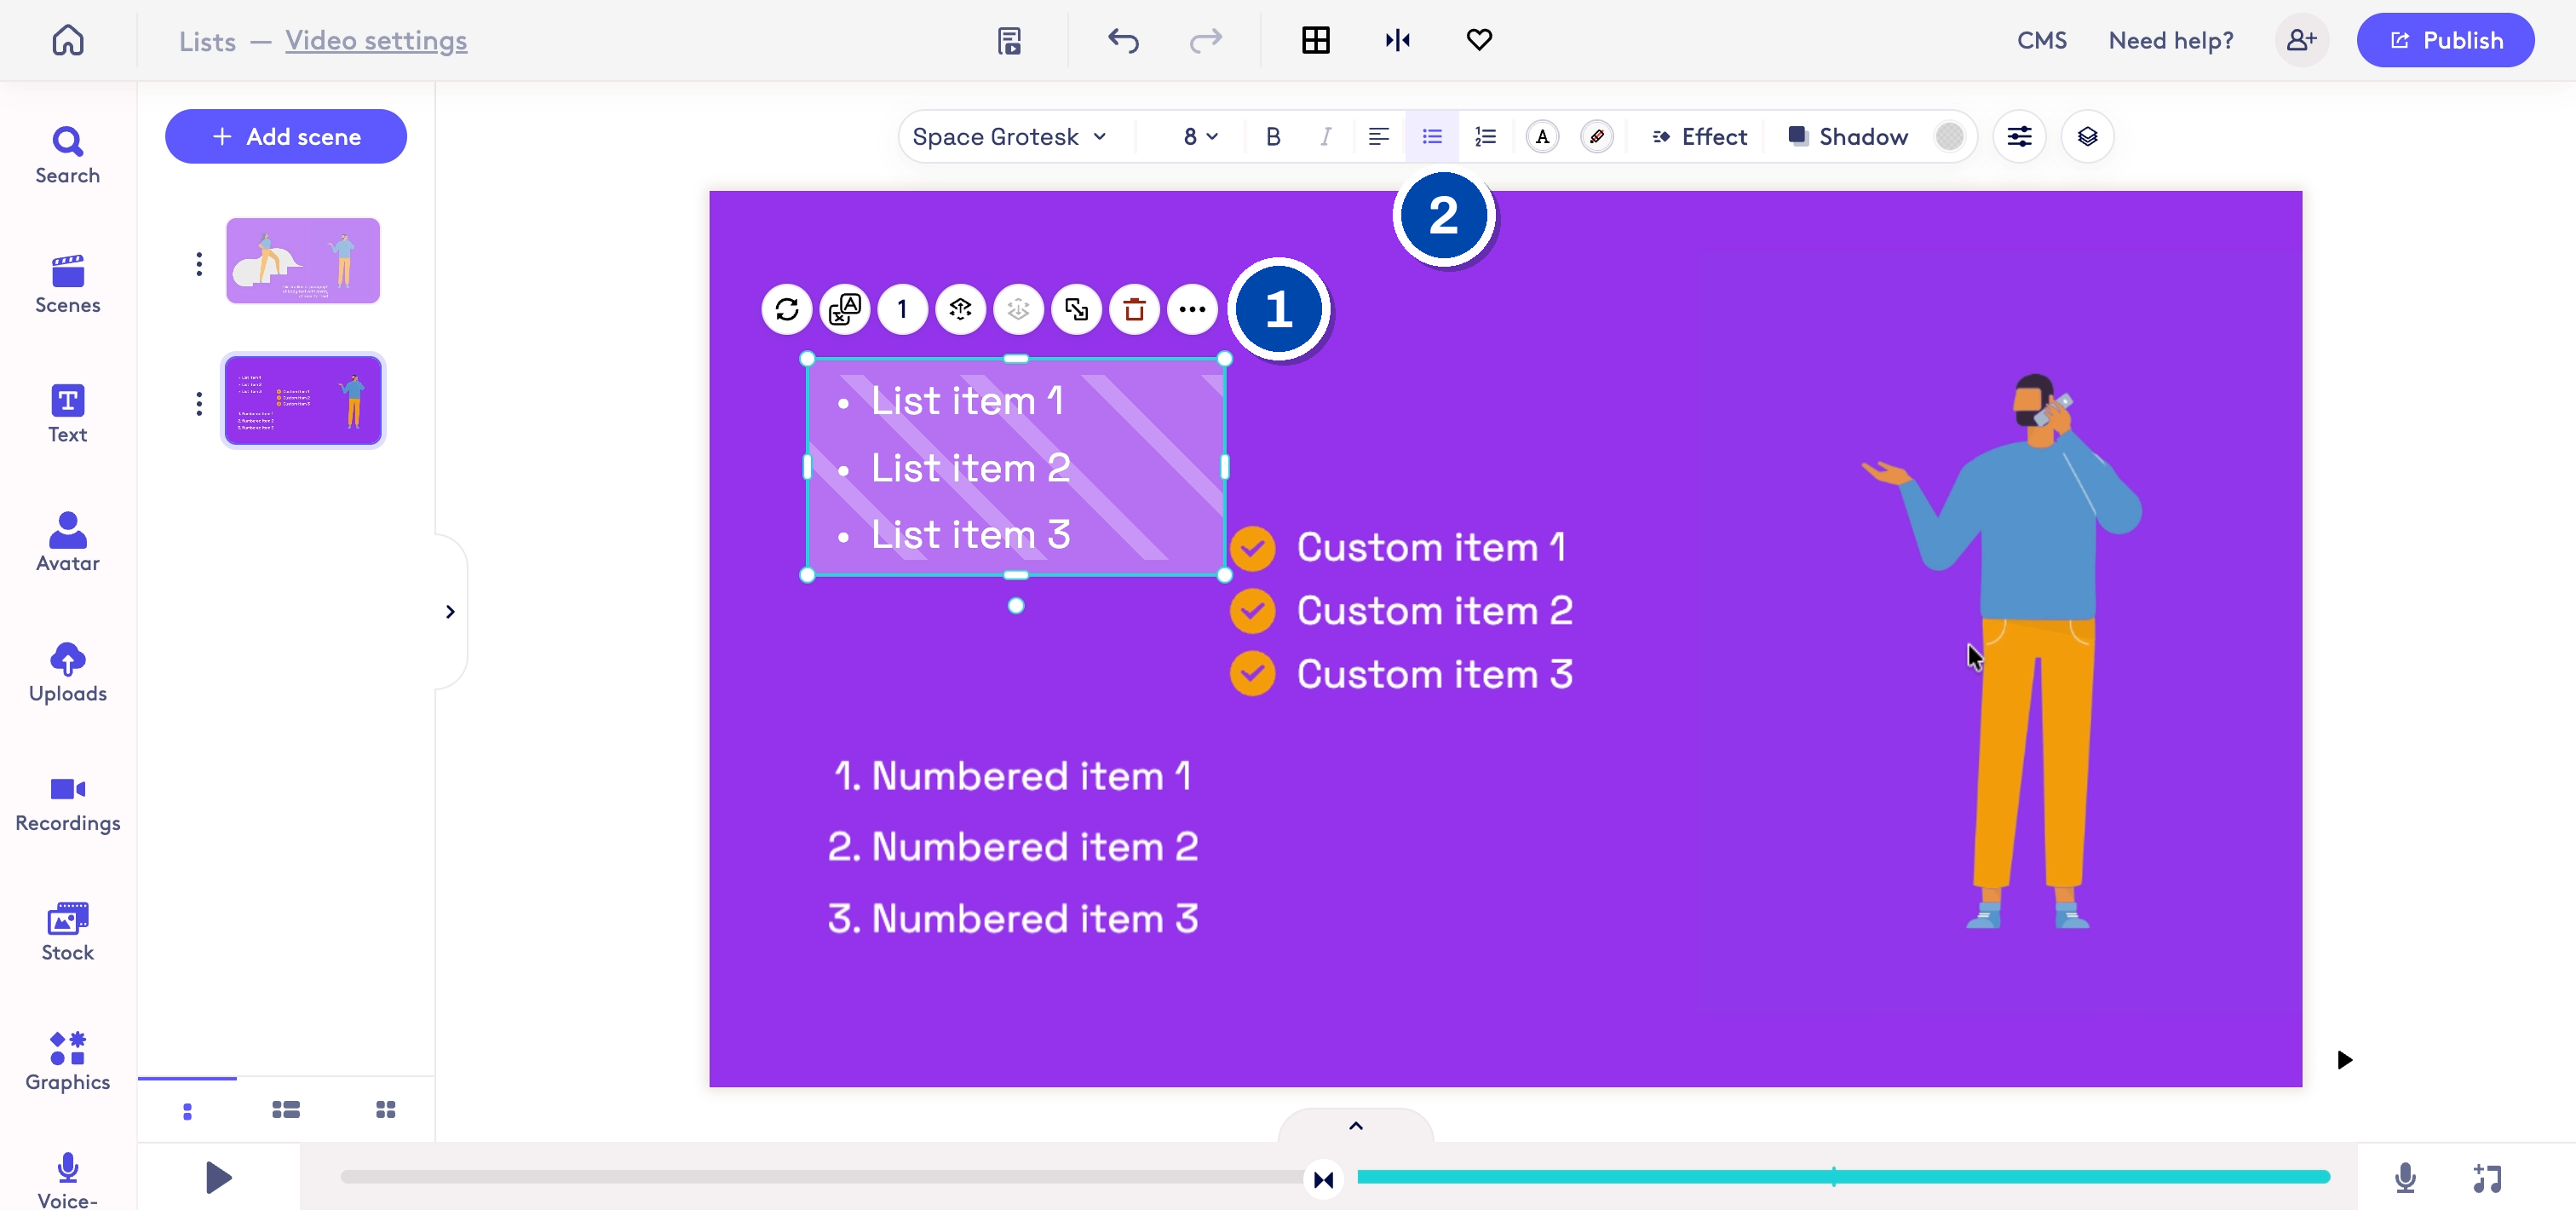
1: Create a text box and add your first item 2: Selected the bulleted list icon in the toolbar to create a bulleted list
2. Numbered list
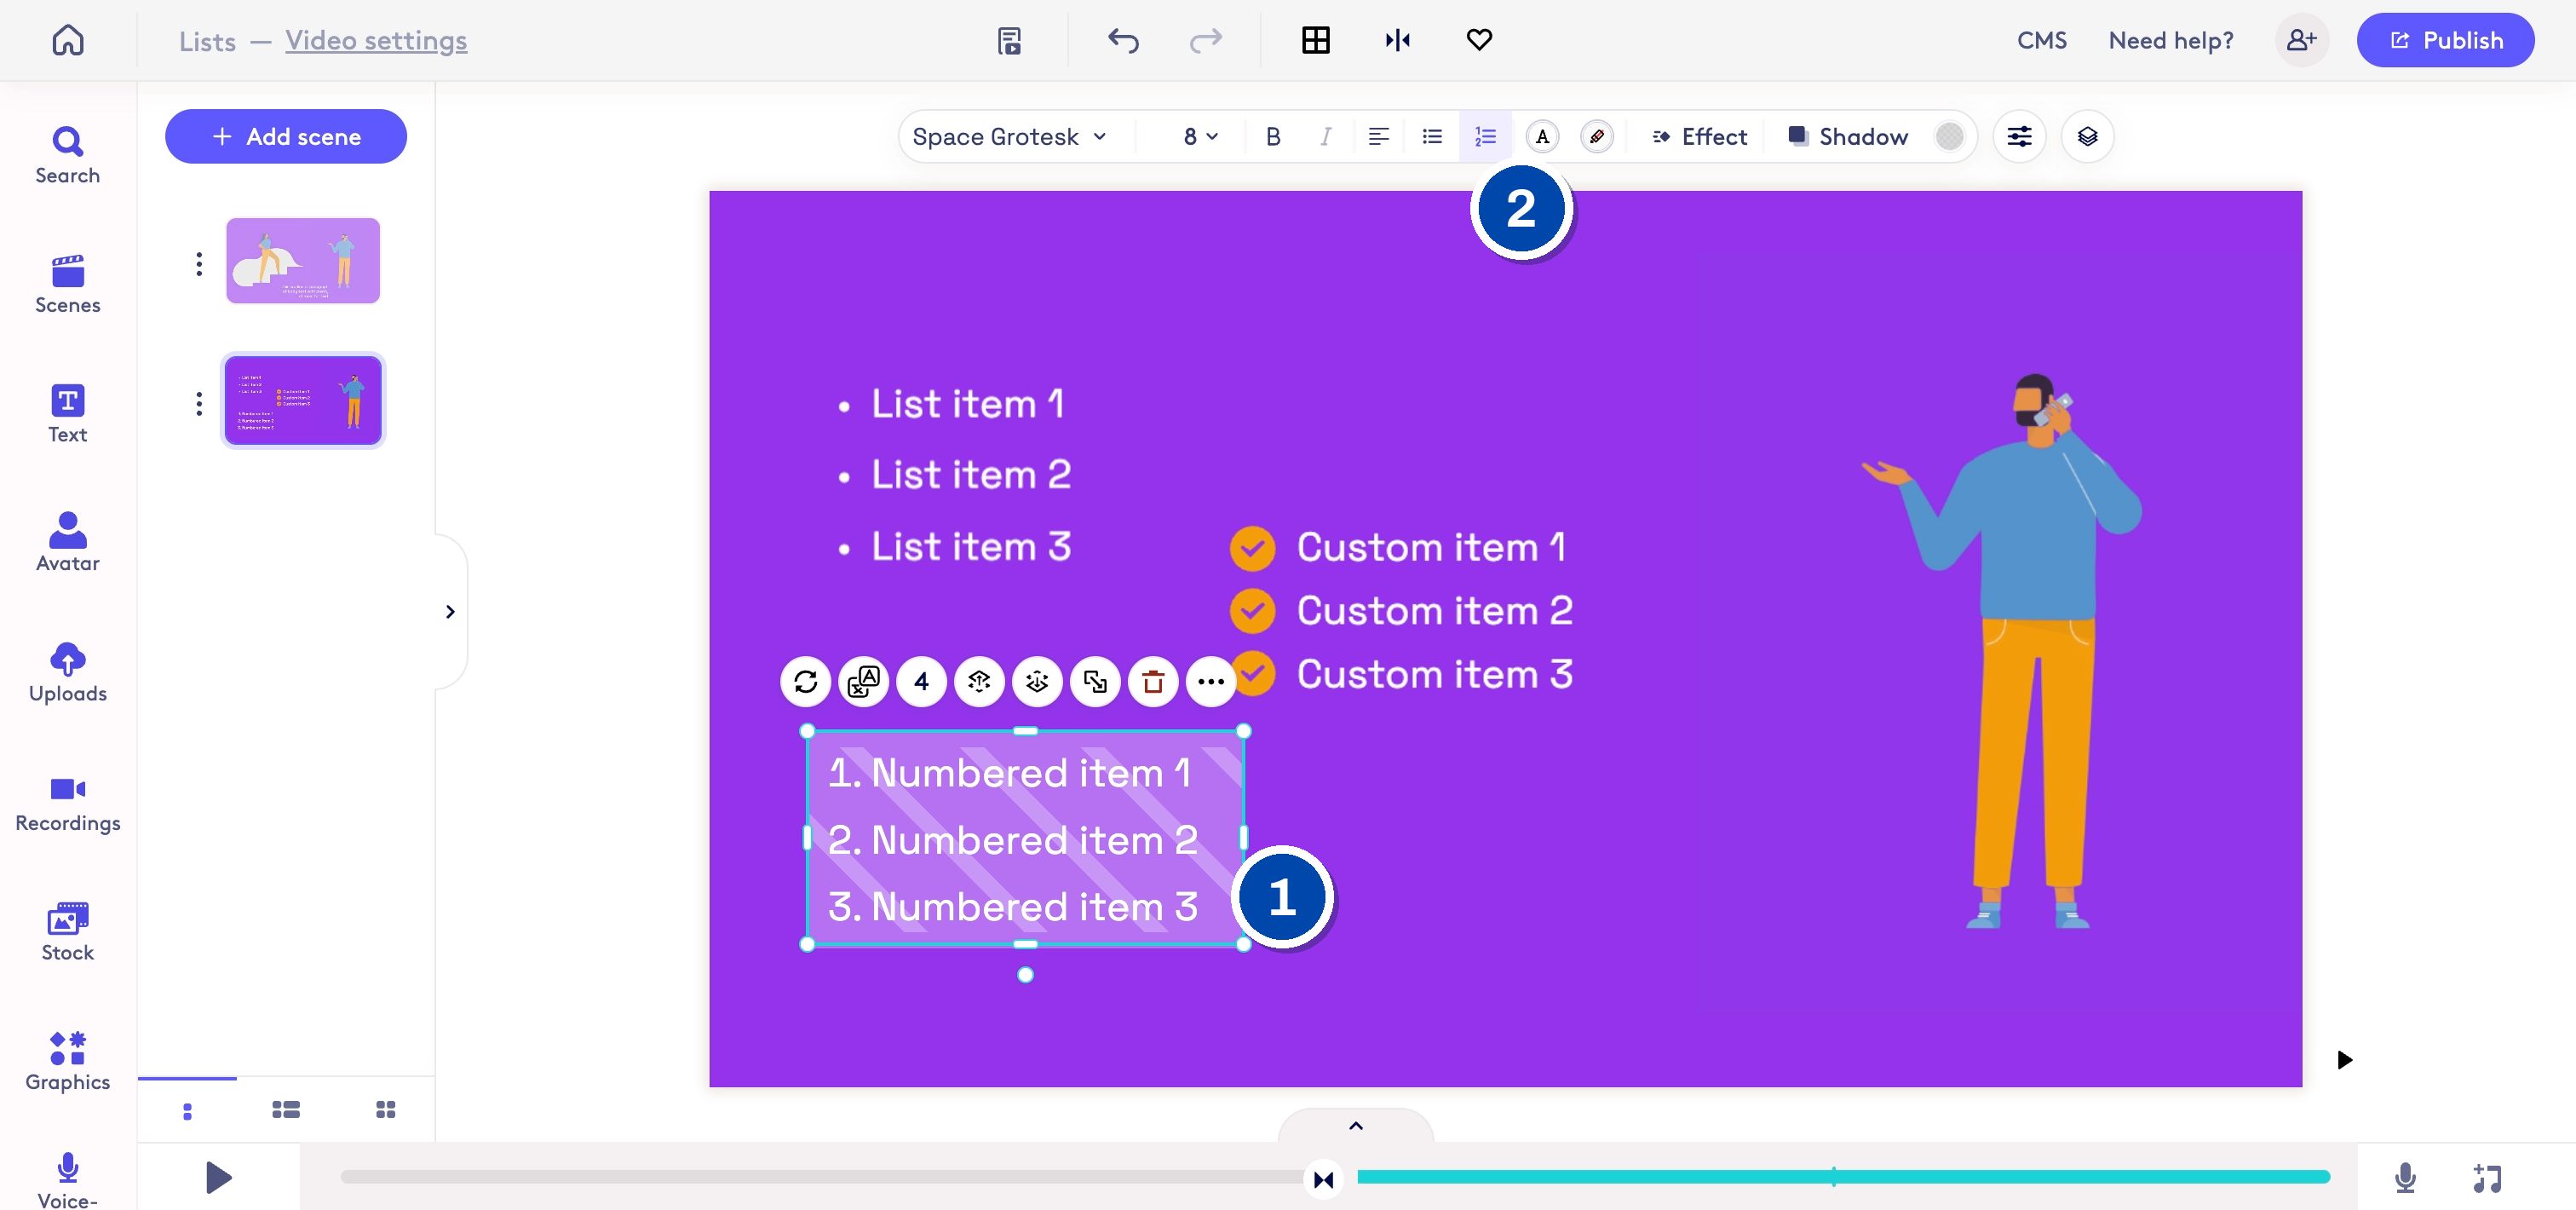
1: Create a text box and add your first item 2. Selected the bulleted list icon in the toolbar to create a bulleted list
3. Custom list with graphics
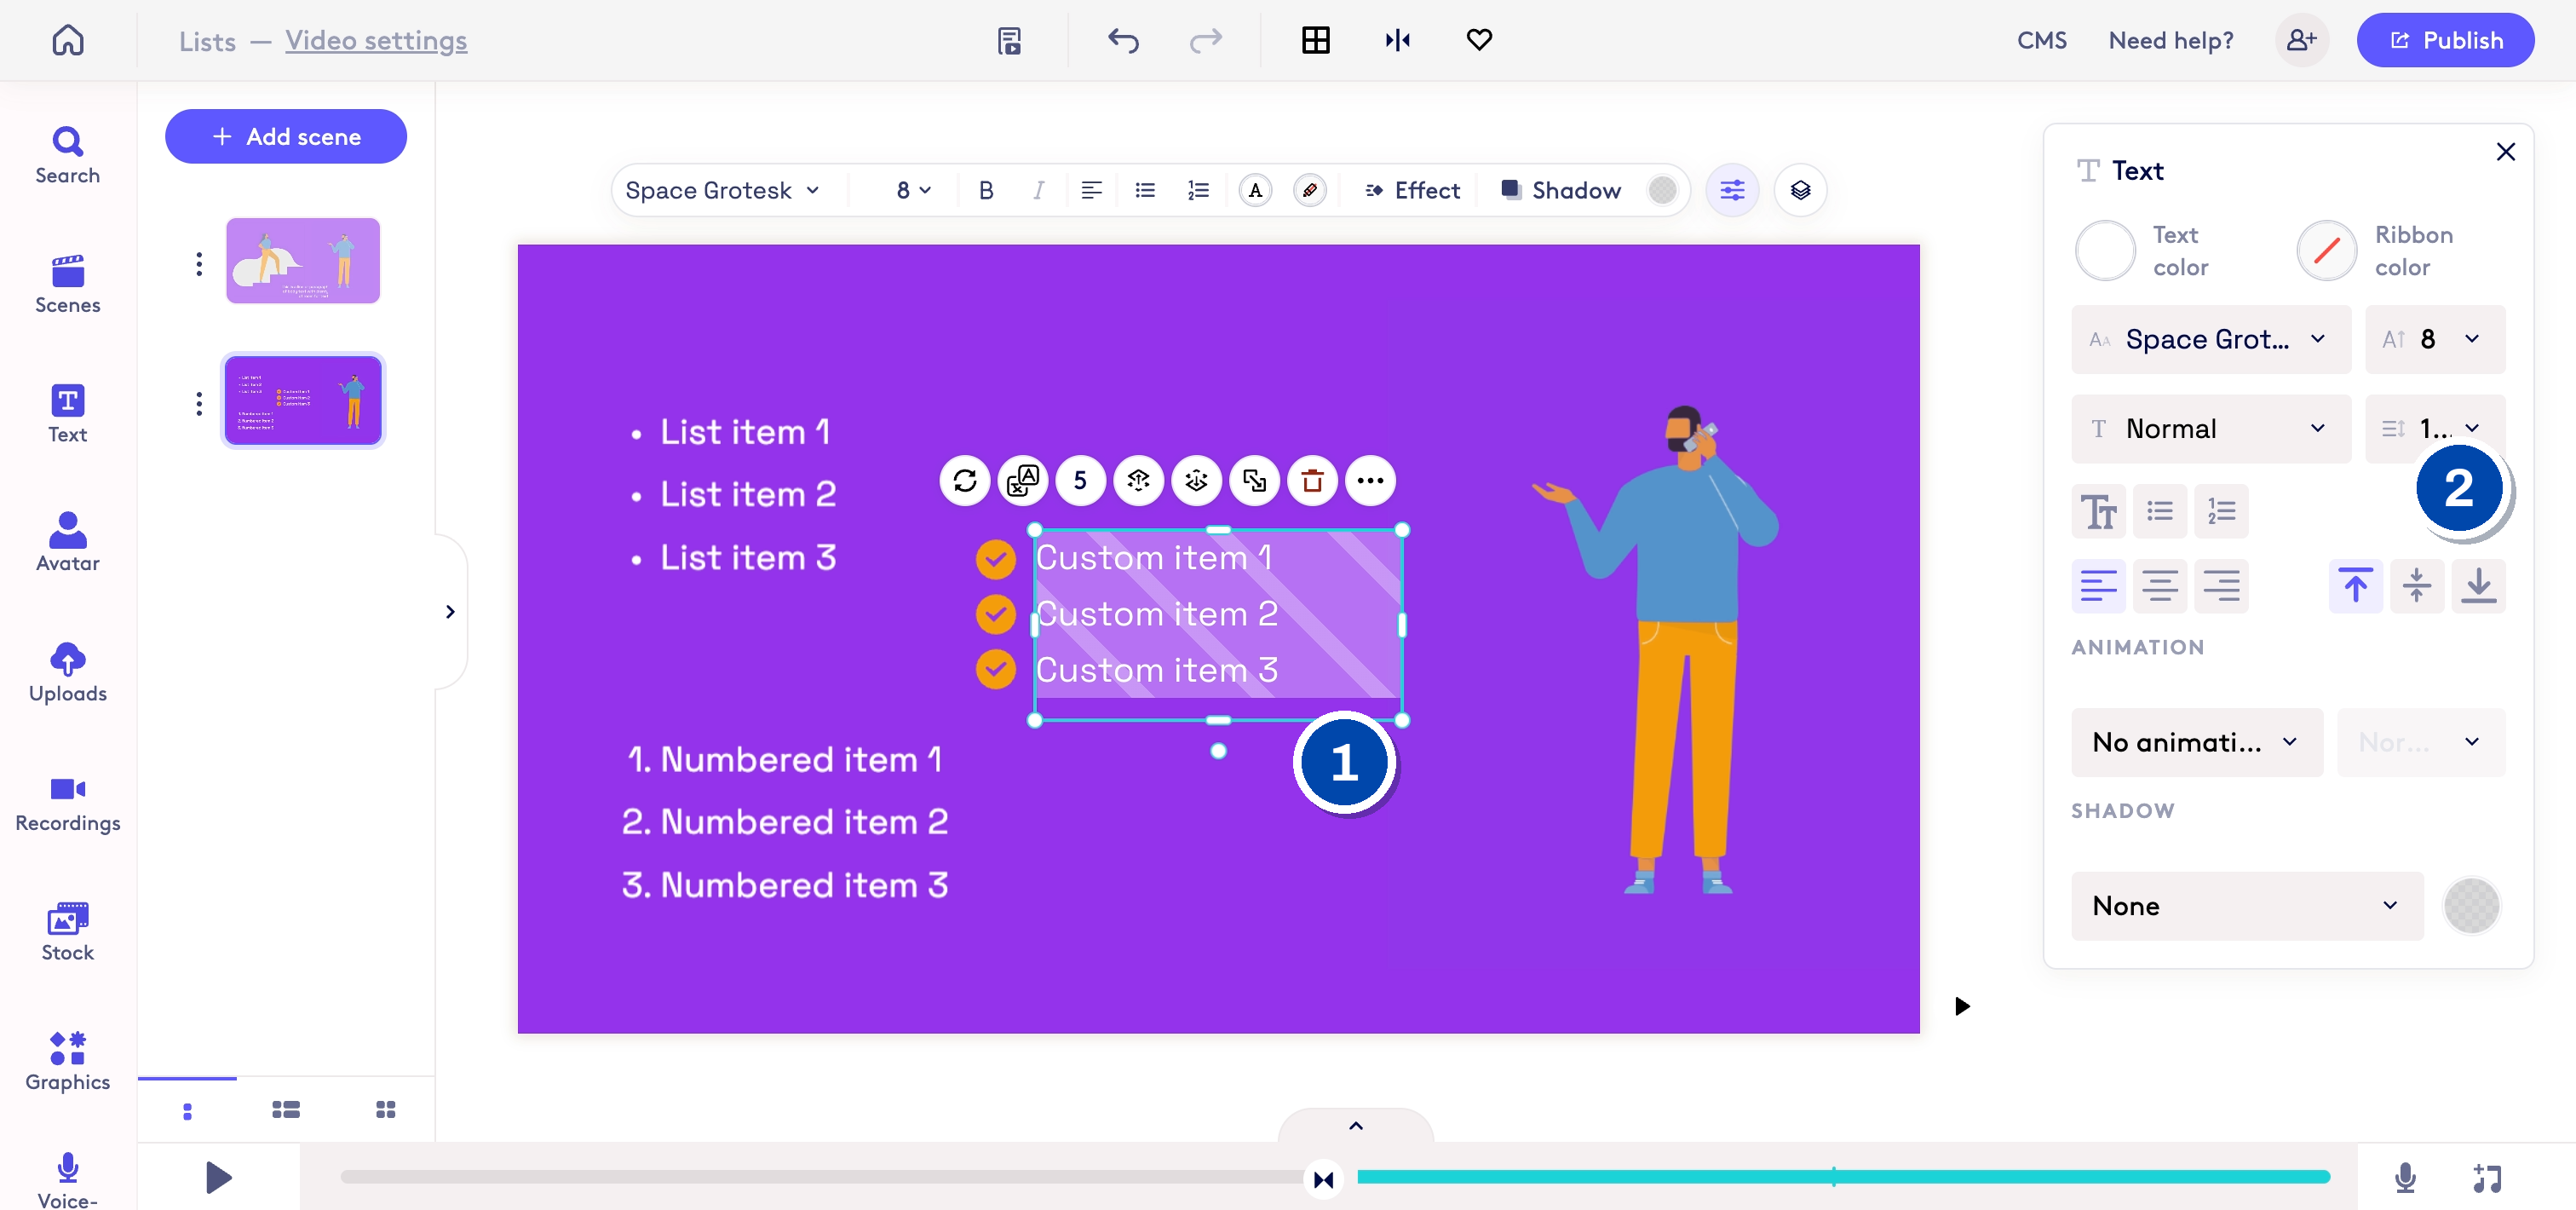
1: Create the list of text 2. Adjust the line spacing as needed
4.
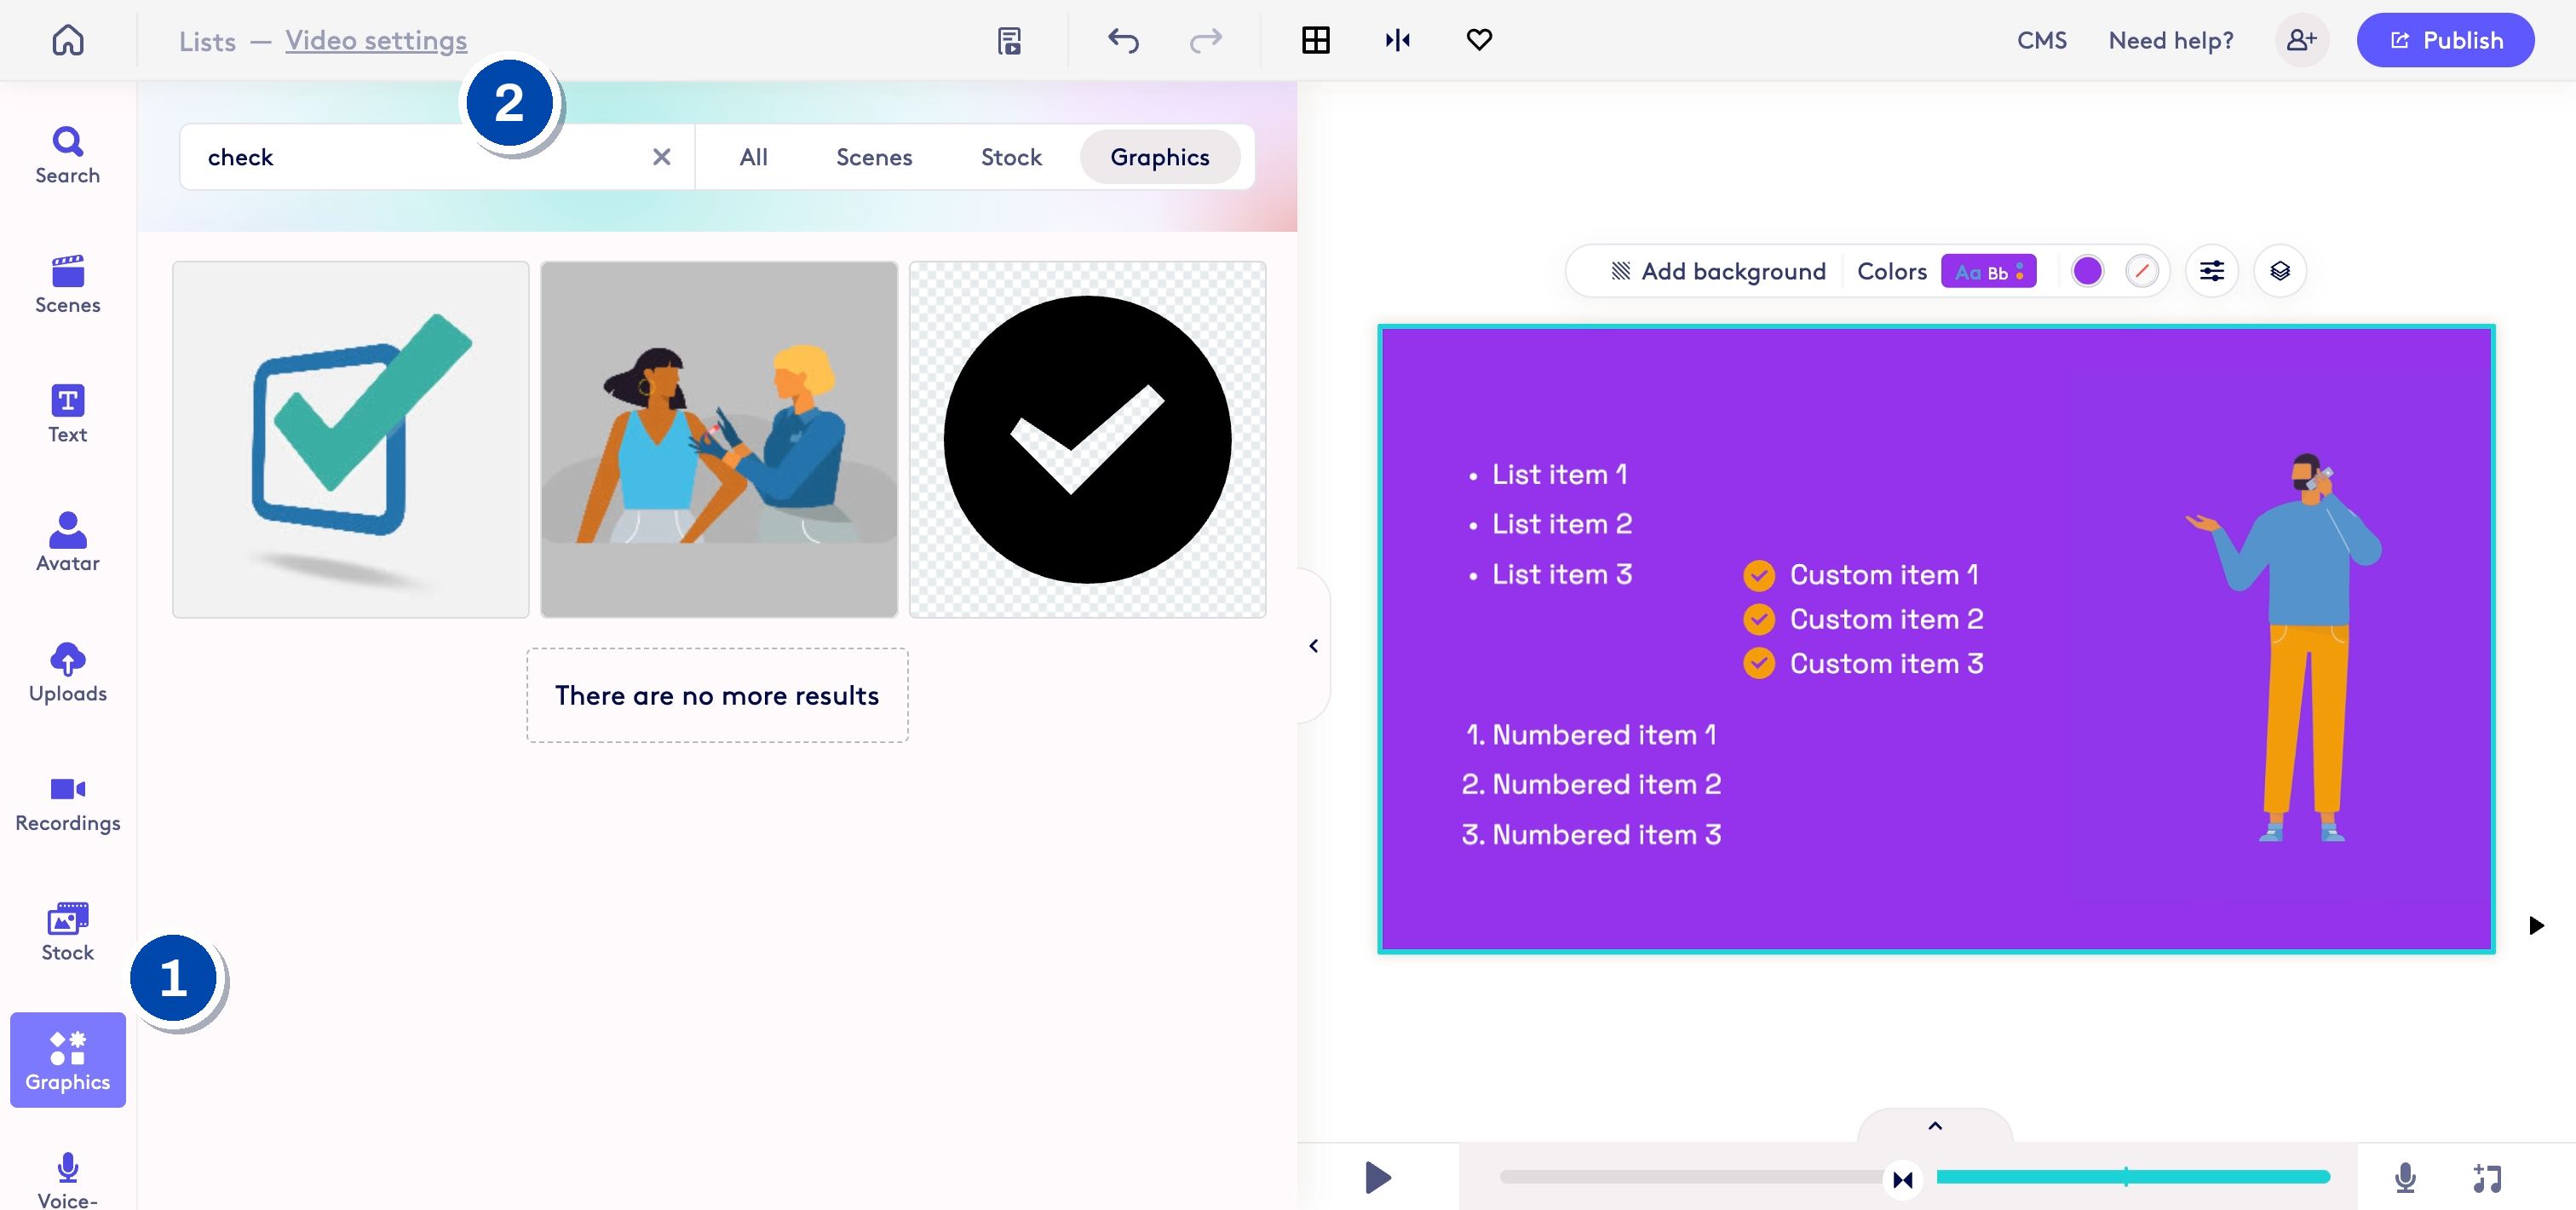
1: Open graphics (or upload your own graphics using 'Uploads') 2: Search or use folders to navigate to find an icon
5.
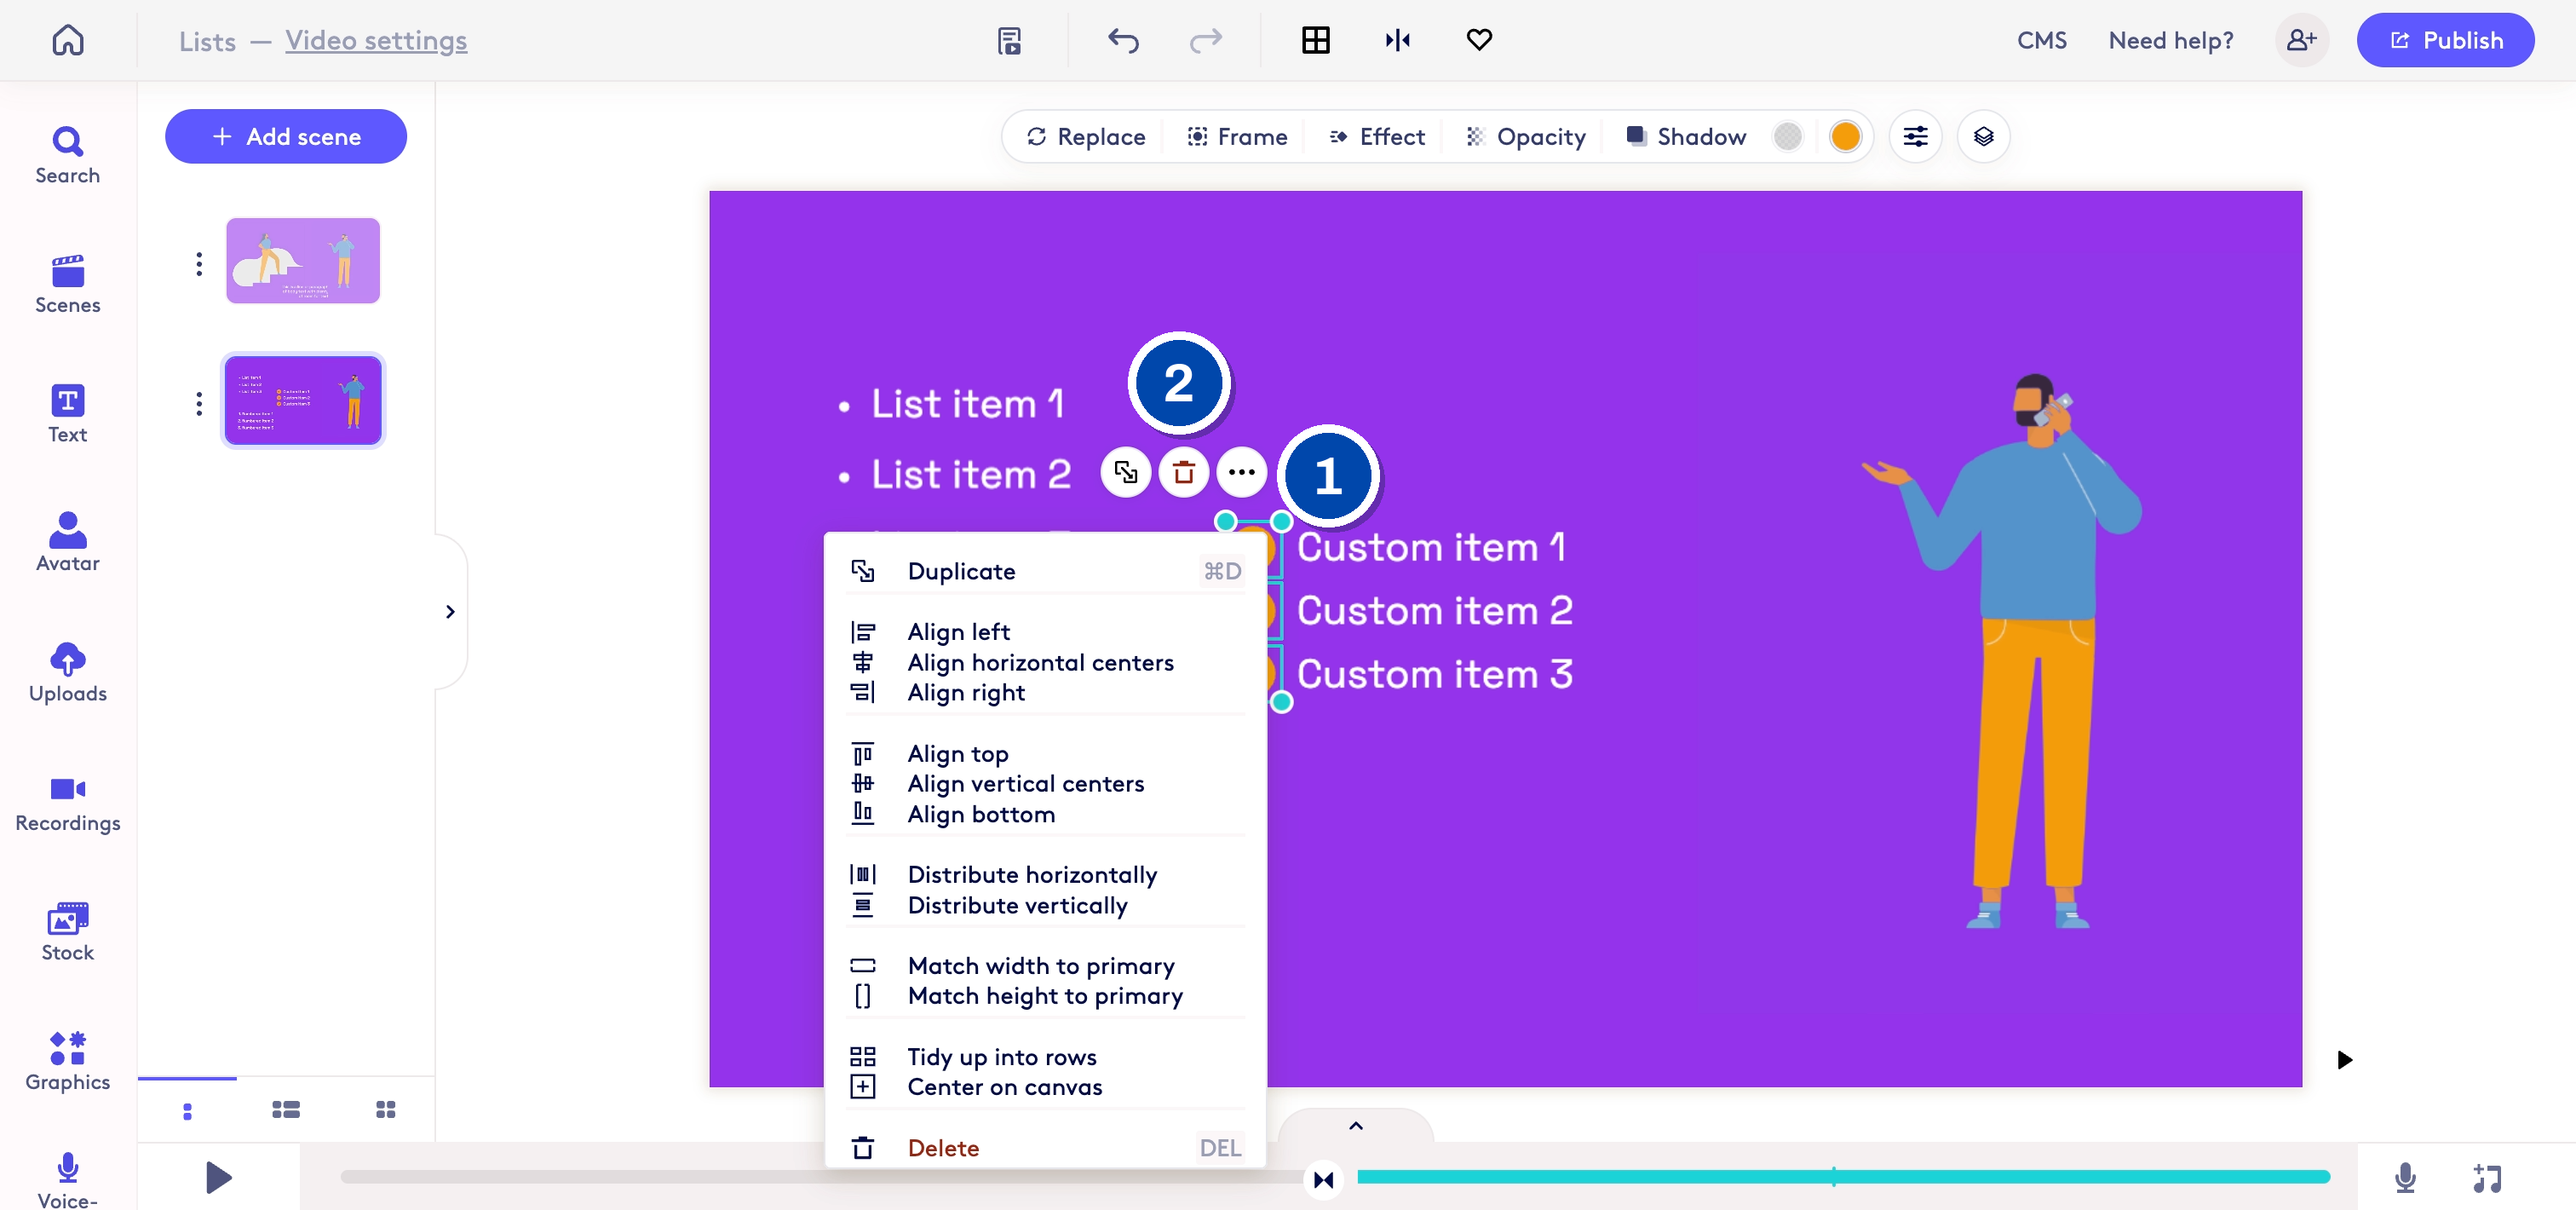
1: Hold shift and select each item to align/distribute 2: Click the ... menu to show the options for align and distribute